
How To Assemble a Chainsaw: A Beginner's Guide

Assembling a chainsaw can seem like a daunting task for novice users, but it’s actual very simple.
With a bit of practice, you’ll be able to take apart and put together a chainsaw in a matter of minutes.
This is an essential skill to learn before you begin to operate your chainsaw, as it will sometimes be required to reattach your chain should it come loose during use.
The first step is to push the brake guard forwards away from the front handle to check that the chain brake is on.
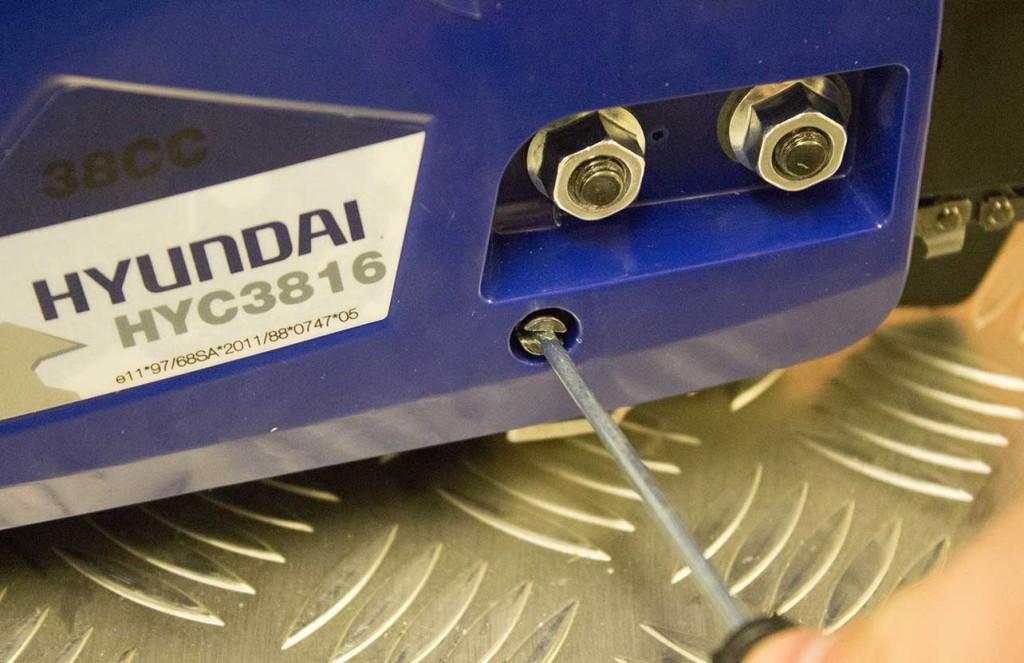
Once you’ve done this, loosen the nuts on the side cover and remove any transit spacer that might sit between the cover and the main power unit.
On this model, the transit spacer was yellow.
![]()
With the side cover removed, attach the guide bar to the power unit by firmly sliding it in to the slot by the sprocket.
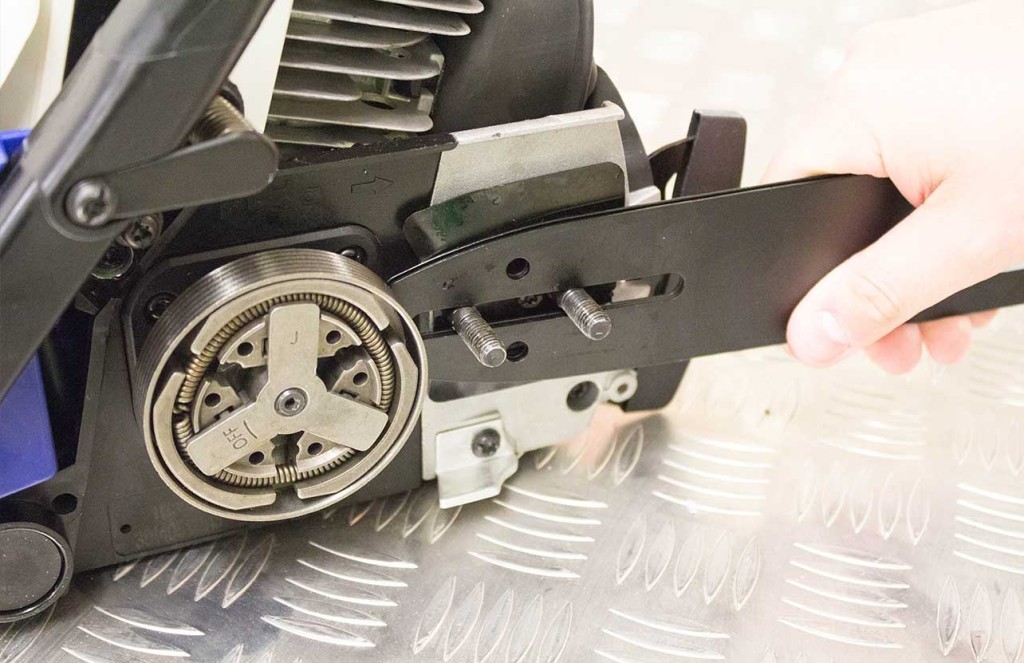
Wearing protective gloves, take the chain and wrap it around the sprocket, and then around the guide bar.
Make sure the chain is facing the right direction by matching it to the diagram found on your guide bar.
Next, take the side cover and line up the screw with the tensioning screw hole.
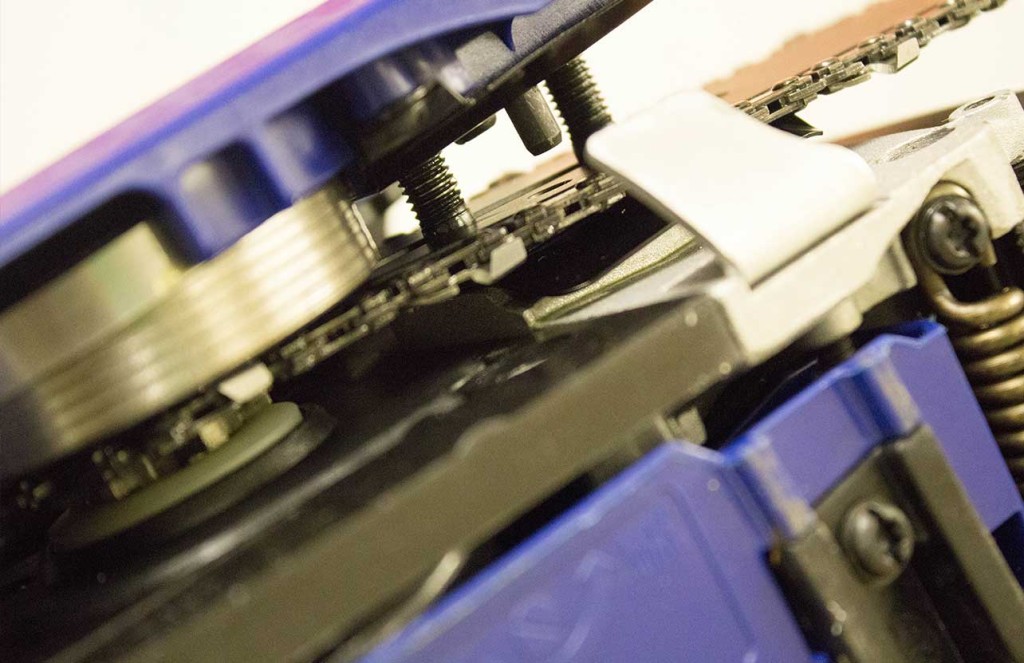
If you need to move the screw before it will line up, slowly rotate it with a screwdriver.
With the screw in the tensioning hole, rotate it clockwise until the tie straps just touch the bottom side of the bar rail.
If the chain is too loose or tight, it will cause wear and damage to the chain, which will affect performance and eventually break it.
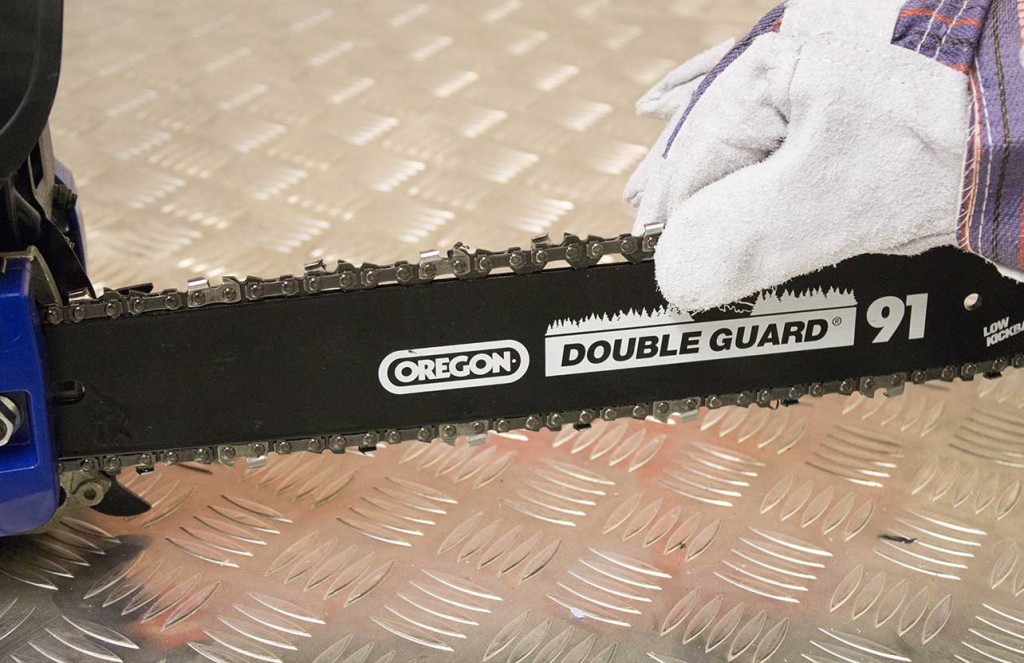
With the correct tension achieved, move the chain around the bar to check for smooth rotation.
Operate the safety brake to make sure it locks in place, then hold the bar tip up and tighten the nuts on the side cover securely.

If you notice your chain isn’t performing as it should, turn the chainsaw off immediately and re-adjust the chain.
You can browse our full range of chainsaws here, and if you have any questions, please don’t hesitate to contact us on 01437 700123