
Servicing Your Lawn Mower Guide

With the dark winter days behind us it’s now time to look ahead to spring and summer.
Your lawn is probably looking a bit worse for wear, but don’t worry because we have the essential tips you need to get it back in to great shape so you can enjoy it over the next few months!
You don’t have to be a gardening expert to be able to service your lawn mowe
r and in this quick guide we'll walk you through how to service your lawn mower to guarantee it's performing as well as it should be.
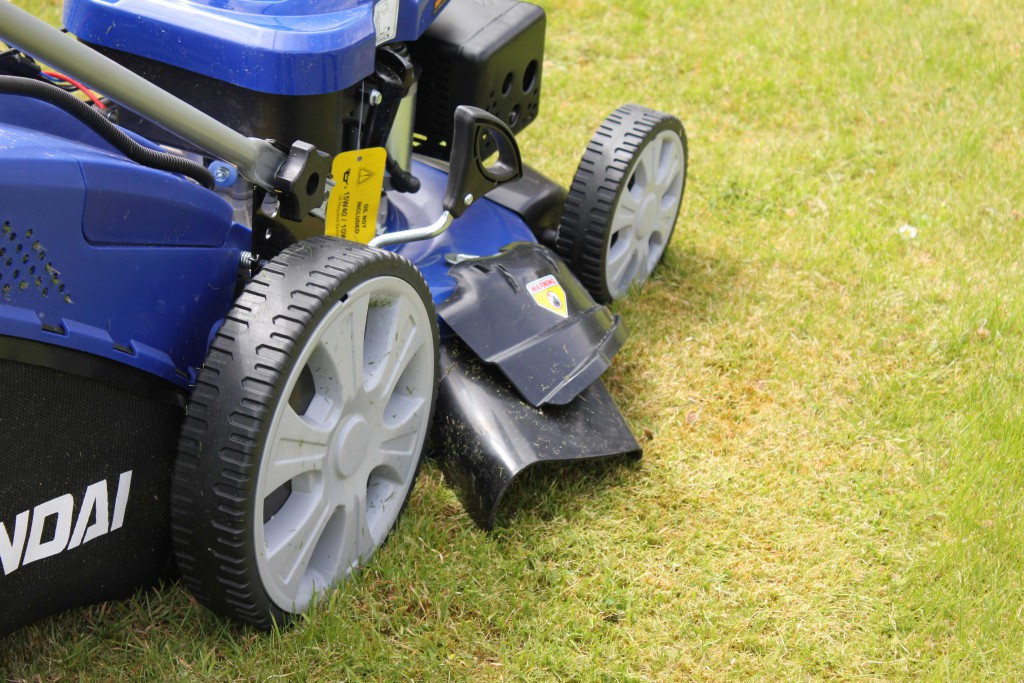
We're going to be using the Hyundai HYM51SPE Electric Start Petrol Lawn Mower as the basis for this guide, but the techniques should apply to almost all domestic lawnmowers.
Removing the Spark Plug
The first thing to do is remove the spark plug.
Locate the plug, which is found at the front of the machine on the front of the engine.
Once you've located it, remove the HT cap by firmly pulling it off.
Remove the spark plug by placing the long-reach spark plug wrench over the plug and turning it anti-clockwise to loosen it.
Be careful to keep this wrench straight to avoid putting strain on the ceramic insulator as this is quite fragile.
We're NOT going to replace the spark plug yet, for reasons which will be explained further down.
Replacing the Air Filter
Next we’re going to replace your air filter.
The air filter is usually towards the front of the engine on one side.
To make it easier to find, it’s usually opposite the side where your exhaust is located.
To remove the air filter covering, simple unclip the outer cover which will reveal the air filter.
To replace, just reverse the above, being careful not to allow dust and dirt into the air intake.
Replacing the Blade
To change the blade, you’ll have to tip your lawn mower so that the handles are sitting on the ground and the spark plug would be facing up in the air.
As we said previously, you don’t want to replace the spark plug before this step as, if you accidentally turn the crank, there is a chance you could start the engine up and start the blade spinning which is obviously very dangerous.
Always keep your spark plug out when dealing with your blade so there’s no chance of this happening.
To remove the blade, make sure you always wear heavy-duty gloves, undo the centre bolt by turning it anti-clockwise and safely pull the blade plate off.

Once you’ve done this, take your new blade plate and thread the bolt back on, making sure the new blade plate is safely attached.
Ensure this is tightened to the correct torque as stated in the manual. For this machine it is 40ft-lb.
Changing the Oil
To change your oil, first locate your dipstick which can be on the top, side or back of your lawnmower.
You’ll need a syphoning syringe to suck the oil out.
Remove the dipstick, stick the syringe down until it goes no further and simply by pulling it up you’ll be draining the lawn mower of oil.
Once you have removed all of the oil, you’ll have to replace it with new oil.
Make sure to check your dipstick to see that the oil goes up to to the marker.
Once you’ve done that, screw the dipstick back in to place.
Replacing the Spark Plug
Finally, we return to the spark plug.
Put your new spark plug in the spark plug hole and begin to tighten it in by hand until you can feel it’s quite tight.
The reason for this is to ensure you’re screwing the spark plug in correctly so that it won’t cross thread.
Once it’s tight, tighten it with your deep socket and replace the HT cap.
Now Your Lawnmower is Serviced!
Once you’ve done all of these steps you are ready to take your lawnmower out in to your garden for the rest of the season.
Enjoy!